AI Overview
Solar battery installation in Melbourne follows a defined sequence: a free site assessment, system design and grid paperwork, the physical install day, and commissioning with monitoring handover. Installs are completed by DSW Energy, an established Victorian solar and battery installer. The process is governed by AS/NZS 5139, the Australian standard for battery installations, and must be carried out by an accredited installer for the federal rebate to apply. A standard retrofit typically takes four to six hours on install day once approvals are in place.
Key highlights
- A free site assessment comes before any commitment, covering your switchboard, siting options and backup scope.
- Grid connection approval from your DNSP is required before install and can take one to three weeks.
- The install day itself is typically four to six hours for a standard retrofit to existing solar.
- Australian Standard AS/NZS 5139 governs battery installations. An accredited installer is required for the federal rebate.
- Indoor and outdoor siting are both valid options. The right choice depends on your home, battery model and access to your switchboard.
- Installs at this site are completed by DSW Energy, an established Victorian solar and battery installer.
Step One: The Free Site Assessment
A reliable installer will not quote a battery system without visiting your home first, or at minimum doing a thorough remote assessment using your switchboard photos and electricity bills. There are too many variables to get a useful number without seeing the site.
The assessment covers the health of your existing solar panels and inverter, the condition and capacity of your switchboard, the physical space available for the battery, and what your evening power use actually looks like.
What the assessor is looking for
- Switchboard: is it modern enough to accept a battery, or does it need an upgrade first?
- Solar health: are your panels and inverter in good shape, or does the system need attention before adding storage?
- Siting: is there a suitable wall near the switchboard for the battery, or will cable runs add cost?
- Phase of supply: is the home single-phase or three-phase? That affects compatible hardware.
- Backup scope: do you want whole-home backup, essential circuits only, or self-consumption without backup?
The assessment is where you set your goals
This is also your chance to explain what you want. Backup during blackouts, lower bills, or both. A good installer will size and configure the system around your actual goals, not a generic package.
System Design and Grid Approval
In Victoria, installing a battery that connects to the grid requires approval from your Distribution Network Service Provider, the company that owns the poles and wires in your street. That is usually either Jemena, United Energy, AusNet, Powercor or CitiPower depending on your suburb.
Your installer lodges the application on your behalf. It includes the system design, the battery model and its compliance documentation. Most approvals come back in one to three weeks, though complex installs or network-constrained areas can take longer.
What happens while you wait
While the DNSP approval is in process, the installer orders your equipment and schedules the install date. You will receive confirmation of the proposed date, the system design and the written quote showing the indicative federal rebate amount.
Do not skip the paperwork step
Installing a battery without DNSP approval is not compliant, and some insurers will not cover a system installed outside the rules. A reputable installer handles this as standard. If an installer wants to skip it, that is a red flag.
| Stage | Who handles it | Typical timeframe |
|---|---|---|
| Site assessment | Your installer | 30 to 60 minutes on site |
| Quote and system design | Your installer | 1 to 3 business days |
| DNSP connection approval | Installer lodges, DNSP approves | 1 to 3 weeks |
| Equipment ordering | Your installer | Runs in parallel with approval |
| Install day scheduling | Your installer | Confirmed once approval is in |
Common stages before install day and how long they typically take.
Install Day: Hour by Hour
- 1
Arrival and safety check (Hour 1)
The install team arrives, confirms the site layout and isolates the solar system and switchboard before any work begins. Isolation is non-negotiable before touching electrical equipment.
- 2
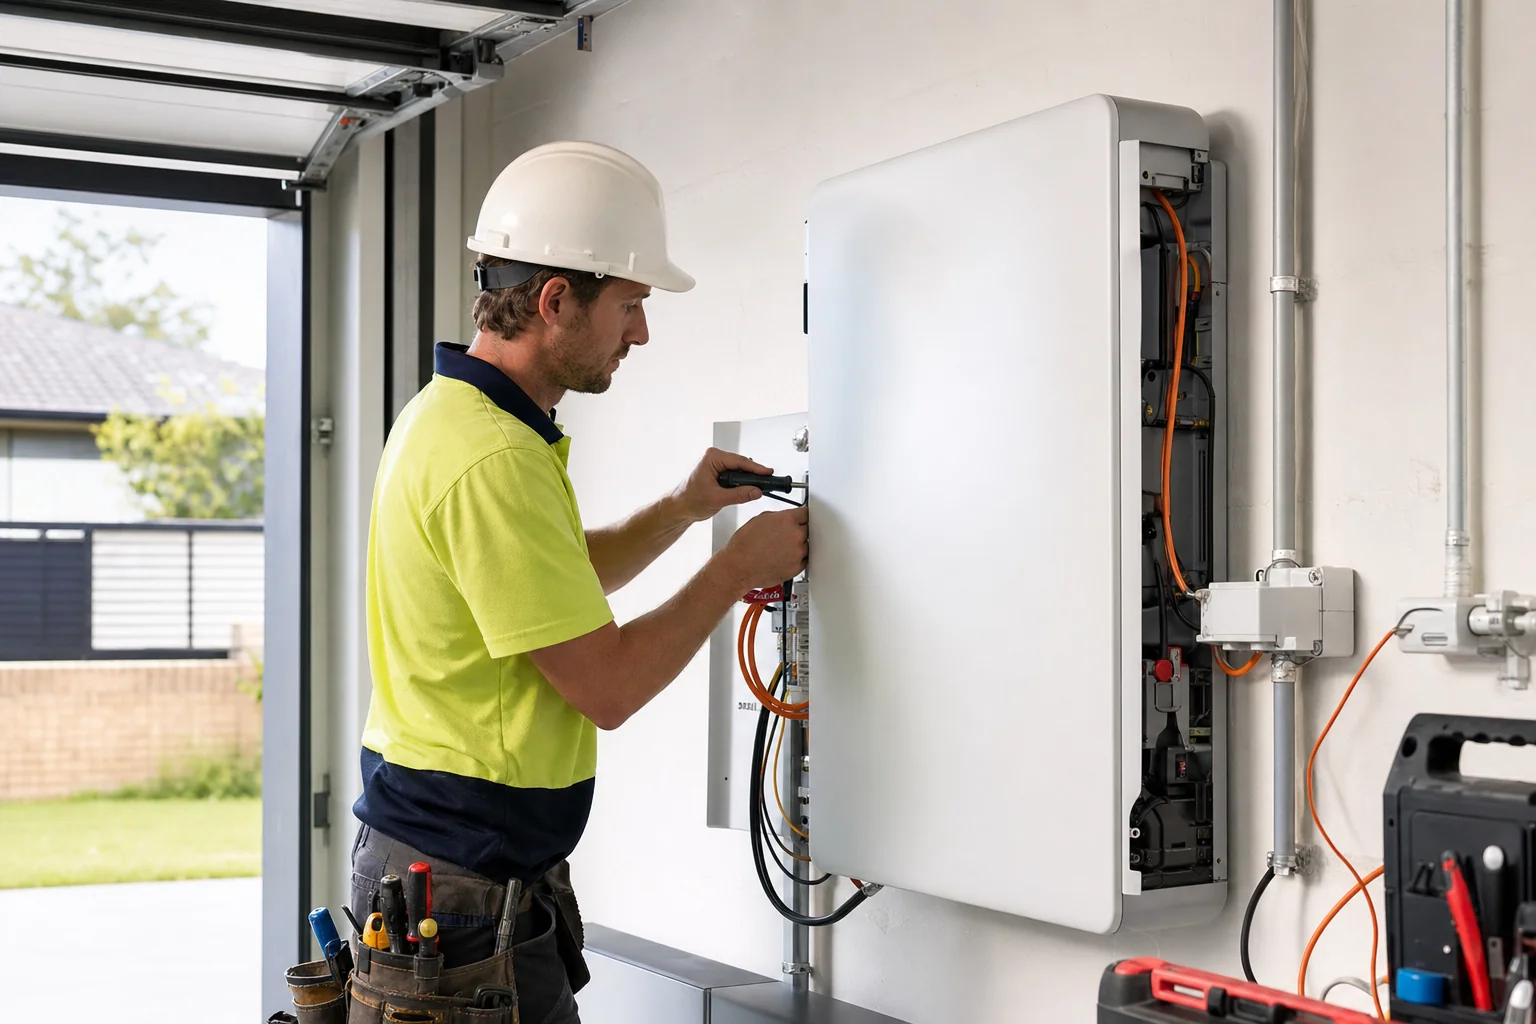
Mounting and cabling (Hours 1 to 3)
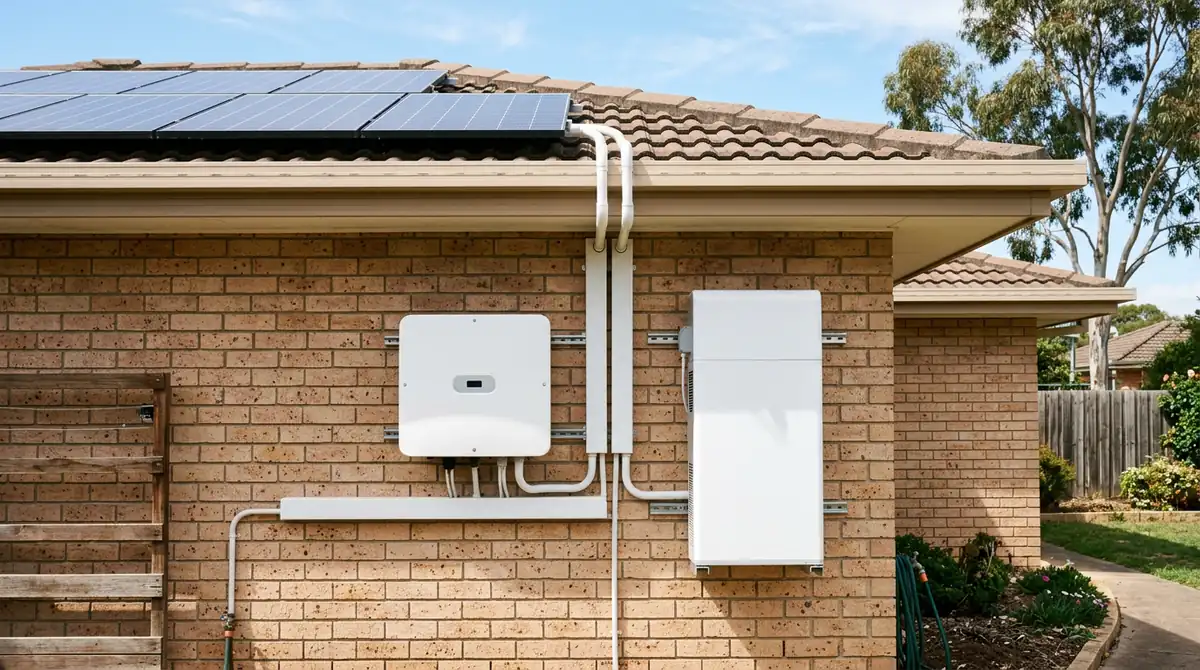
The battery enclosure is mounted to the wall. Cabling runs from the battery to the switchboard. If a backup gateway or additional switchgear is required, it is installed at this stage. Cable management is done neatly, not left exposed.
- 3
Switchboard work (Hours 2 to 4)
The battery inverter or gateway is connected to the switchboard. If a dedicated circuit or switchboard upgrade was agreed in the quote, that work is done now. The metering may also be updated to a smart meter if one is not already in place.
- 4
Commissioning (Hours 4 to 5)
The system is powered up and tested. The installer checks that the battery is communicating with the inverter and the monitoring platform, that charging and discharging work correctly, and that backup behaviour triggers as expected.
- 5
Handover (Final hour)
You are walked through the monitoring app, shown how to read your battery state, and given information on when to contact the installer and when to contact your energy retailer. The site is left clean.
Plan for a short outage
There will be brief periods during the install where your solar and grid connection is isolated. This is normal and usually totals 30 to 90 minutes across the day. Let your household know in advance so no one is surprised by the lights going off.
Indoor Versus Outdoor Siting
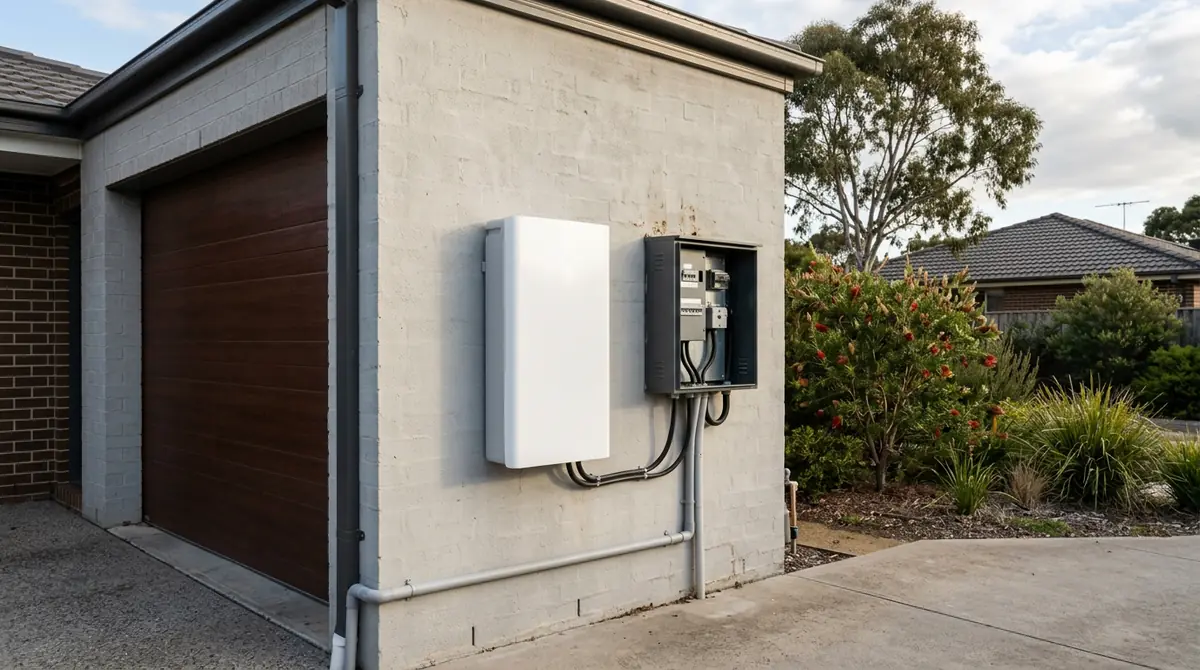
The most common siting for a home battery in Melbourne is in the garage, laundry or on an exterior wall near the switchboard. Getting the battery close to the switchboard keeps cable runs short, which reduces cost and heat losses.
For a detailed look at the trade-offs between indoor and outdoor siting, including ventilation, temperature limits and aesthetics, can solar batteries be installed outside covers the key considerations well.
Indoor siting (garage, laundry, utility room)
- Protected from extreme heat and cold, which can extend battery life
- Less exposed to the elements and UV
- Easier access for maintenance and visual checks
- May require ventilation depending on battery chemistry
Outdoor siting (exterior wall)
- Keeps the indoor space clear, useful in compact homes
- Requires a battery with an appropriate IP rating for outdoor exposure
- Check temperature operating range for Melbourne summers (40-plus degree days)
- Siting near the switchboard usually still possible on an exterior wall
AS/NZS 5139 governs siting as well as wiring
Australian Standard AS/NZS 5139 sets minimum clearance and ventilation requirements for battery installations. Your installer is required to follow these. An assessment will identify if your preferred location meets the standard or whether a different spot is better.
Standards, Safety and Accreditation
AS/NZS 5139 is the Australian standard for battery energy storage systems. It covers everything from the siting and mounting of the battery to the cabling, switchboard connections, labelling and documentation. An installer who follows it is working to a consistent, auditable standard.
To be eligible for the federal Cheaper Home Batteries Program rebate, the battery must be installed by a Clean Energy Council accredited installer. Accreditation requires training specific to battery systems, not just a general electrical licence.
What to ask your installer
- Are you CEC-accredited for battery installations, not just solar?
- Will the installation comply with AS/NZS 5139, and will I receive the compliance documentation?
- Will you handle the DNSP connection approval?
- What is covered by the workmanship warranty, and for how long?
For a broader look at battery safety, including the chemistry differences and what thermal runaway actually means in a home context, are solar batteries safe is worth reading before install day.
Accreditation is not a formality. It is the difference between a compliant install that keeps your warranty intact and one that voids it.
What Makes a Good Installer
Installs for Solar Batteries Melbourne are completed by DSW Energy, an established Victorian solar and battery installer. The points below reflect what we look for in any installation partner and what you should look for if you are comparing options.
| Quality installer | Red flags |
|---|---|
| Visits the site or asks for detailed photos before quoting | Quotes blind from a brief phone call |
| Handles DNSP approval as standard | Leaves you to manage the network approval yourself |
| Provides a written system design and specification | Only provides a one-line quote with no detail |
| Supplies AS/NZS 5139 compliance documentation | No paperwork after install |
| Walks you through the monitoring app at handover | Leaves without explaining how to check your system |
| CEC-accredited for battery installations | Only holds a general electrical licence |
Signs of a quality installer versus one to approach with caution.
A good installer costs more for a reason
A faster, cheaper install that skips the DNSP approval, uses substandard cabling or does not follow AS/NZS 5139 can void the battery warranty, create an insurance problem and cost more to fix later. The install quality is as important as the battery you choose.
Monitoring, Warranties and the First Year
Every modern home battery comes with a monitoring platform accessible through a phone app or web portal. Your installer should walk you through it at handover. If they do not, ask before they leave.
What to check in the first month
- Daily charge and discharge cycles: is the battery charging fully from solar on a clear day and fully discharging before midnight?
- Grid imports in the peak period: are they dropping compared to before the install?
- Battery state of charge at midnight: if it is still above 30% most nights, the battery may be oversized for your current load.
- Any error codes or alerts: flag these to your installer early rather than waiting for an annual service.
Understanding your warranties
Home batteries typically carry two separate warranties. The product warranty covers defects in the battery unit itself, usually ten years for major brands. The throughput or performance warranty guarantees the battery retains a minimum percentage of its original capacity after a defined amount of use, typically measured in MWh cycled.
The workmanship warranty covers the installation itself: the cabling, mounting and connections. This is the installer's warranty, not the manufacturer's. It should be in writing and typically runs one to five years depending on the installer.
Keep your compliance documentation
After the install, you should receive AS/NZS 5139 compliance documentation and a Certificate of Electrical Safety. Store these with your product warranties. They are required if you sell the home and may be needed for an insurance claim.
For guidance on how to size a battery to get the best return from it, rather than over-investing in capacity you rarely cycle, what size solar battery do I need walks through the calculation from real usage data.
The monitoring app is not optional reading. It is the only way to know whether your battery is earning what it should on your bills.
| Warranty type | What it covers | Who provides it | Typical duration |
|---|---|---|---|
| Product warranty | Defects in the battery unit and hardware | Battery manufacturer | 10 years |
| Performance warranty | Minimum capacity retention after defined use | Battery manufacturer | 10 years or defined MWh throughput |
| Workmanship warranty | The install quality: cabling, mounting, connections | Your installer | 1 to 5 years depending on installer |
Warranty types for a typical home battery installation.
Frequently Asked Questions
Install day for a standard retrofit to existing solar is typically four to six hours. However, the full process from assessment to switch-on takes longer because of DNSP grid connection approval, which usually takes one to three weeks. Allow three to six weeks from your first assessment to having the system running.